🍹 [5분 내로] 강의실/✏️ Tomcat에 Nginx 연동하기
[5분 내로] CentOS에서 Nginx와 tomcat 설치 및 연동하기
728x90
안녕하세요. 팀드모네입니다.
오늘은 CentOS에서 Nginx와 tomcat 설치 및 연동하는 방법을 공유드립니다.
1. Nginx 설치
1.1 Nginx 설치를 위한 사전 준비
# sudo vi /etc/yum/repos.d/nginx.repo
그리고 아래 내용 작성 후 저장
[nginx]
name=nginx repo
baseurl=http://nginx.org/packages/centos/7/$basearch/
gpgcheck=0
enabled=1
1.2 nginx 설치
# sudo yum install -y nginx
1.3 부팅 시 자동 실행 설정
# sudo systemctl start nginx
# sudo systemctl enable nginx
# sudo systemctl status nginx
1.4 nginx가 정상적으로 실행되었는지 확인!
-> 웹 브라우저에서 http://localhost을 입력
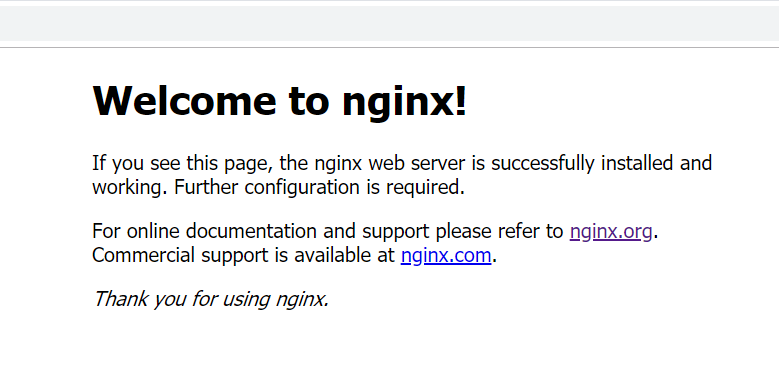
끝!
2. Tomcat 설치
2.1 공홈에서 원하는 버전의 Tomcat 다운로드
https://tomcat.apache.org/download-80.cgi
Apache Tomcat® - Apache Tomcat 8 Software Downloads
Welcome to the Apache Tomcat® 8.x software download page. This page provides download links for obtaining the latest versions of Tomcat 8.x software, as well as links to the archives of older releases. Unsure which version you need? Specification versions
tomcat.apache.org

tar.gz를 다운받은 후 리눅스의 /usr/local/tomcat8이라는 곳에 배치하시면 됩니다.
아래 사진을 참고하시면 됩니다.
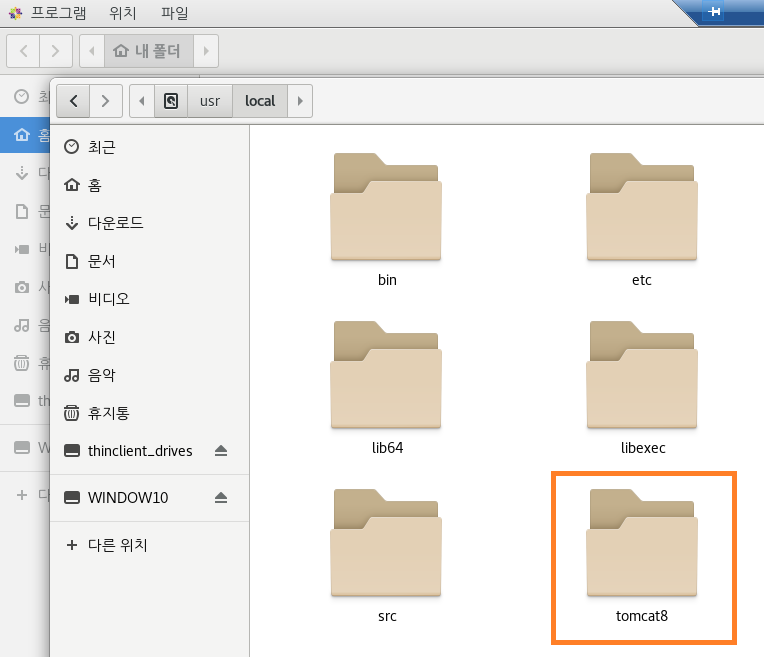
폴더 구조는 아래와 같습니다.

2.2. Tomcat 실행
# cd /usr/local/tomcat8/bin
# ./startup.sh

2.3 Tomcat 실행 확인
웹 브라우저에서 http://localhost:8080 입력

끝!
3. nginx와 Tomcat 연동하기
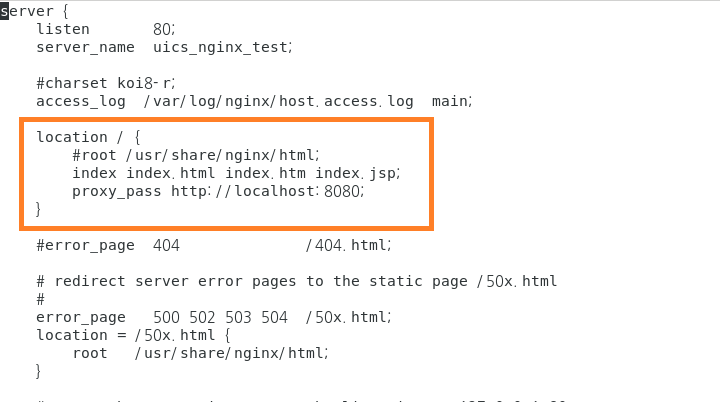
3.1 Nginx 설정 파일 오픈
# vi /etc/nginx/conf.d/default.conf
3.2 Nginx 설정 파일 수정
뭐 이것저것 바꿀 필요는 없고, 두 줄만 작업하시면 됩니다.
#root /usr/share/nginx/html;
proxy_pass http://localhost:8080;
아래의 사진을 참고하시면 됩니다.
3.3 proxy 접근 허용 명령어 실행
nginx가 proxy로 접근할 수 있도록, 권한을 풀어주는 명령어를 실행하겠습니다.
# setsebool -P httpd_can_network_connect 1
끝! 작업이 모두 완료되었는지 체크
3.4 nginx 재기동
# sudo service nginx restart
3.5 nginx와 tomcat 연동 성공 확인
웹브라우저에서 localhost로 접근하겠습니다.
아래와 같이 nginx 페이지가 아니라 tomcat 페이지가 뜨면 연동에 성공한 것입니다.


감사합니다. 작업에 성공하시길 기원하겠습니다 :)
반응형
'🍹 [5분 내로] 강의실 > ✏️ Tomcat에 Nginx 연동하기' 카테고리의 다른 글
| [5분 내로] CentOS에 아파치 설치하기 (0) | 2023.02.20 |
|---|
Contents
소중한 공감 감사합니다